
![ASM[01] — [x86-64] Assembly Language: Environment Setup](https://appsecwriteups.com/wp-content/uploads/2026/10/additionalMacSetupTools-scaled.png)
Hello everyone!
This writeup is not about any of my bug bounty findings. This series is about x86-64 Assembly language.
In this series, I will try to explain x86-64 Assembly step by step based on what I learn and practice. My goal is to make it easier to understand Assembly language through practical examples.
Learning Assembly language is really useful, especially when you are doing reverse engineering. When you reverse engineer an application or analyze a binary, understanding Assembly becomes very important.
In this series, I will not focus too much on theory. Instead, I will focus mainly on practical Assembly programming, where we will write programs, run them, debug them, and understand what is happening at the machine level.
Let’s start learning x86-64 Assembly step by step.
What is Assembly Language?
Assembly language is a low-level programming language that is closely related to the machine code executed by a CPU.
Instead of writing instructions using raw machine-code bytes, Assembly lets us use human-readable instructions such as mov, add, xor, push, pop, and syscall.
For example:
mov rax, 60mov rdi, 0syscallThese instructions directly work with CPU registers and are much closer to the actual instructions executed by the processor.
Which Assembly Are We Learning?
In this series, we are learning x86-64 Assembly for Linux.
More specifically:
- Architecture:
x86-64 / AMD64 - Operating system:
Linux - Assembler:
NASM - Assembly syntax:
NASM syntax - Binary format:
ELF64 - Debugger:
GDB - Disassembler:
x86_64-linux-gnu-objdump - Emulator:
QEMU when needed
Advanced Real Bug Bounty Case Studies – Volume 1
Learn bug bounty hunting through real vulnerability case studies. Discover how XSS, HTML Injection, IDOR, and Broken Access Control vulnerabilities are identified, validated, and responsibly reported using practical, real-world examples instead of intentionally vulnerable labs.
Why I Chose x86-64 Assembly
The main reason I am learning x86-64 Assembly is because x86-64 is a widely used and well-supported 64-bit architecture, especially on modern desktop and server systems.
Instead of starting with older 32-bit x86 Assembly or another architecture, I decided to focus on x86-64 so I can understand modern 64-bit binaries, CPU instructions, reverse engineering, and binary exploitation.
Throughout this series, I will focus more on practical examples rather than spending too much time on theory.
Setup
For this Assembly series, I am using Ubuntu Linux for all of my Assembly practice.
My Ubuntu is running inside a VirtualBox virtual machine on a MacBook Air with an Apple Silicon (M3) chip.
If we check the system architecture, we can see:
uname -aOutput:
Linux ExploitDevlopment 7.0.0-34-generic #34-Ubuntu SMP PREEMPT_DYNAMIC Wed Sep 2 14:34:54 UTC 2026 aarch64 GNU/Linux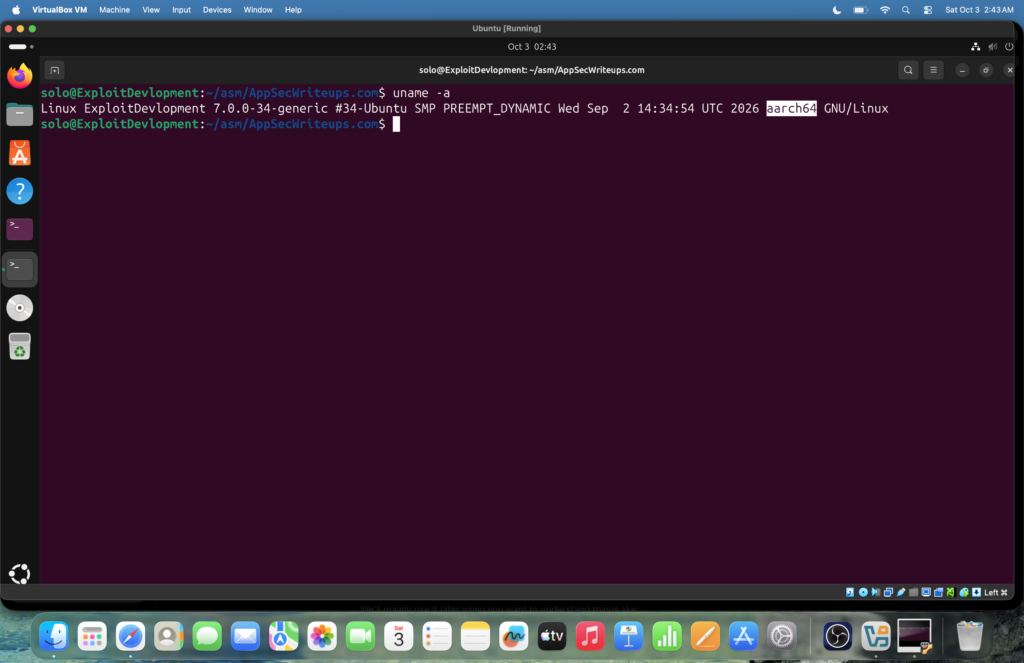
Notice the aarch64 at the end. This means my Ubuntu VM is running on the ARM64 architecture.
However, in this series, we are learning x86-64 (64-bit) Assembly, not ARM64 Assembly.
Why does this matter?
If you are using an Intel/AMD-based computer or a Windows virtual machine with an x86-64 processor, you normally do not need to worry about this architecture difference.
But if you are using a Mac with Apple Silicon, such as an M1, M2, M3, or M4, your virtual machine may run an ARM64 version of Linux.
This creates a problem because we want to write and run x86-64 Assembly on an ARM64 Linux environment.
My Setup
Instead of installing an x86-64 virtual machine, I am using an x86-64 cross-toolchain and QEMU inside my ARM64 Ubuntu VM.
This allows me to write x86-64 Assembly, assemble it, link it, and run the resulting x86-64 program from my ARM64 Ubuntu environment.
In the next section, I will show the tools and configuration I use for this setup so that you can follow the same x86-64 Assembly exercises even if your Ubuntu system is running on ARM64.
Installing the Required Tools
Before starting with x86-64 Assembly, we need to install some basic tools that we will use throughout this series.
Run the following command:
sudo apt updatesudo apt install nasm binutils gdb gcc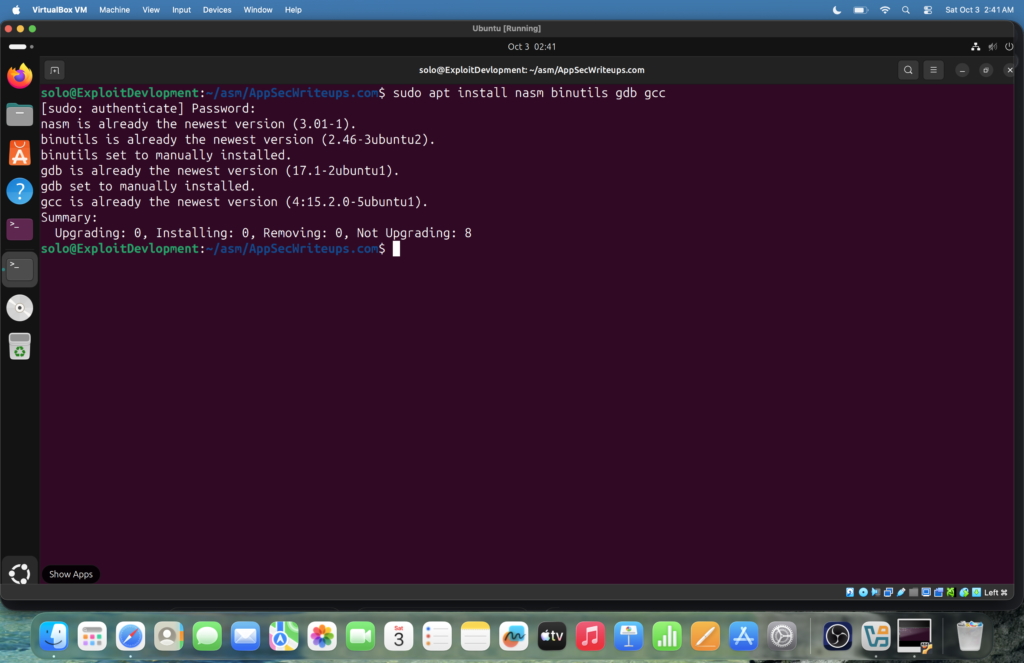
What are these tools?
- NASM — An assembler that converts Assembly code into machine/object code.
- binutils — A collection of binary tools. It provides tools such as
ld,objdump, andreadelf. - GDB — A debugger that allows us to debug programs, inspect registers, examine memory, and execute instructions step by step.
- GCC — A compiler for C and other languages. We will use it later when comparing C programs with their Assembly output.
After installation, we can verify the tools:
nasm --versionld --versiongdb --versiongcc --versionSince I am using an ARM64 (aarch64) Ubuntu VM on an Apple Silicon Mac, we also need some additional x86-64 tools and QEMU. We will configure those in the next section.
Note: The commands and setup in this section are specifically for an ARM64 Ubuntu environment. If you are already using an x86-64 Linux virtual machine, you can use the normal x86-64 tools without this additional setup.
Additional Setup for Apple Silicon Mac Users
If you are using an Apple Silicon Mac, such as an M1, M2, M3, or M4, your Ubuntu virtual machine may be running on the ARM64 (aarch64) architecture.
For example, this is the architecture of my Ubuntu VM:
uname -aOutput:
Linux ExploitDevlopment 7.0.0-34-generic #34-Ubuntu SMP PREEMPT_DYNAMIC Wed Sep 2 14:34:54 UTC 2026 aarch64 GNU/LinuxAs you can see, the output contains: aarch64 But in this series, we are learning x86-64 Assembly. If you are using an x86-64 system or an x86-64 virtual machine, the basic tools installed earlier are generally enough.
However, on an ARM64 Ubuntu VM, we need some additional tools so that we can build and run x86-64 programs.
Install x86-64 Binary Tools
First, install the x86-64 version of GNU binutils:
sudo apt install binutils-x86-64-linux-gnuThis provides x86-64 versions of tools such as:
x86_64-linux-gnu-ldx86_64-linux-gnu-objdumpx86_64-linux-gnu-readelfWe can use these tools to link and inspect our x86-64 binaries.
For example:
x86_64-linux-gnu-ldand:
x86_64-linux-gnu-objdumpInstall QEMU
Next, install QEMU User Mode:
sudo apt install qemu-userQEMU allows us to run x86-64 Linux programs inside our ARM64 Ubuntu environment by emulating the required CPU architecture.
After installation, we can check it with:
qemu-x86_64 --version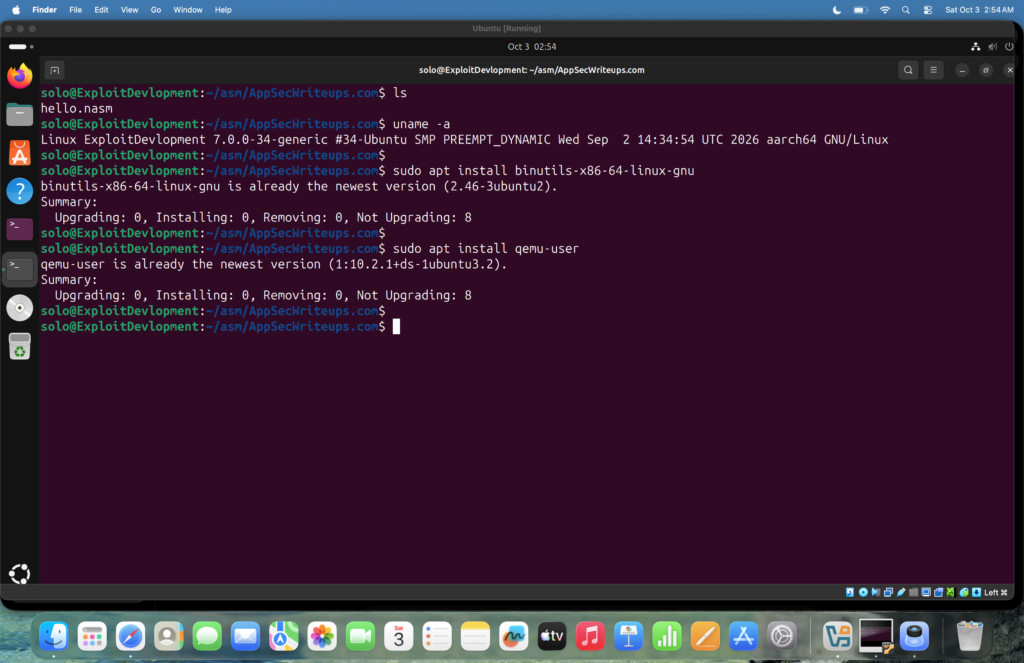
Why Do We Need These Additional Tools?
Our setup looks like this:
Apple Silicon Mac
       ↓
VirtualBox
       ↓
Ubuntu ARM64 (aarch64)
       ↓
x86-64 Cross Tools
       ↓
x86-64 Assembly
       ↓
QEMU
       ↓
Run x86-64 Linux Binary
This additional setup is mainly required because we are using an ARM64 Ubuntu VM while learning x86-64 Assembly.
If your Ubuntu environment is already running on an x86-64 CPU, you normally won’t need this additional cross-toolchain and QEMU setup.
Setup Completed
That’s it! Our x86-64 Assembly environment is now ready.
We have installed the required tools and, for Apple Silicon Mac users, configured the additional x86-64 tools and QEMU needed to work with x86-64 binaries on an ARM64 Ubuntu VM.
In the next part, we will start writing our first x86-64 Assembly program and understand how it works step by step.
See you in the next part! 🚀


![ASM[02] — [x86-64] Assembly Language: Understanding Registers and Writing Our First Program](https://appsecwriteups.com/wp-content/uploads/2026/10/Screenshot-2026-10-03-at-7.13.27-AM-150x150.png)